Shoes & Shoe Accessories
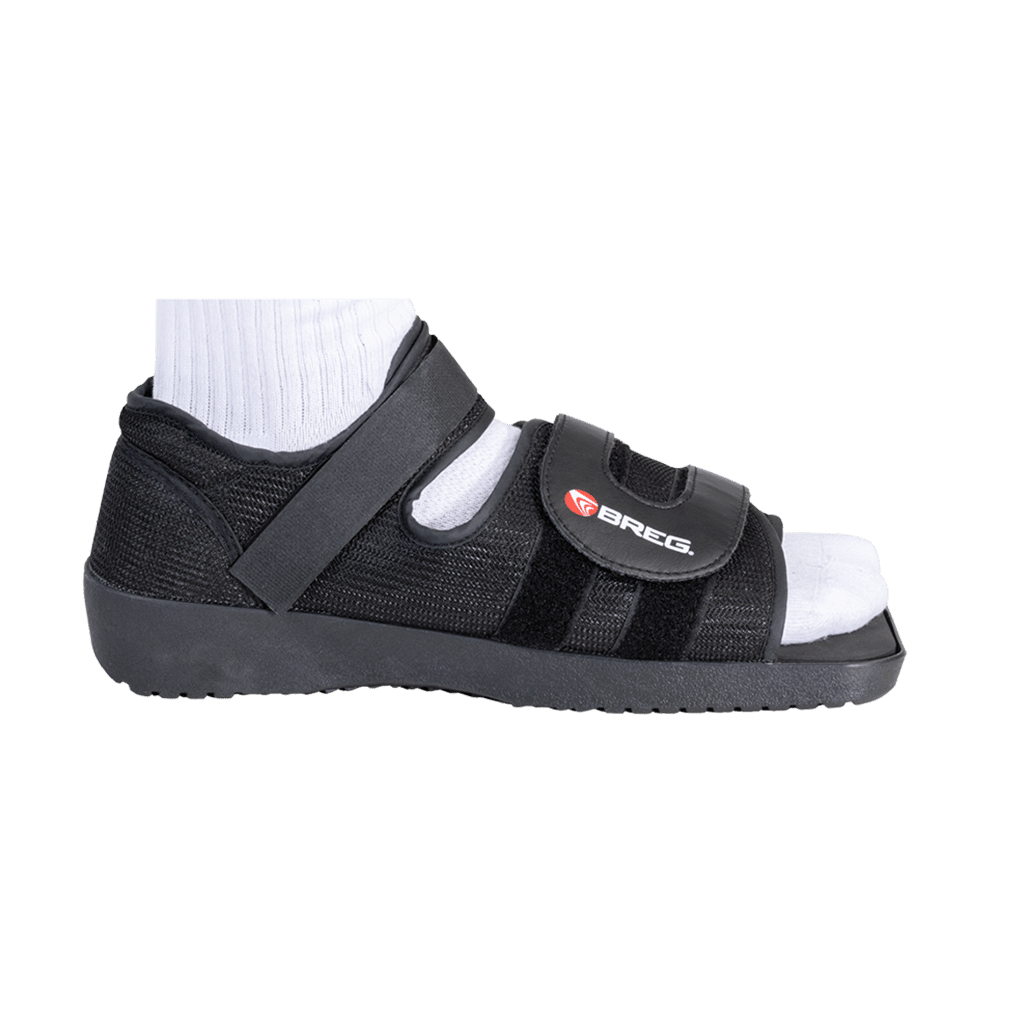
Post-Op Shoe
For post-surgical protection of the forefoot, toe fractures, and bunion surgery recovery.
Sizing Guide
Post-op shoes are sized by shoe size. The shoe should be roomy enough to accommodate bandages or dressings.
Tips & Tricks
Fasten all straps for a secure fit. The rigid sole protects the surgical site while walking.
Common Mistakes
Walking without fastening the straps reduces stability. Make sure the shoe is wide enough to fit over any post-surgical dressings.
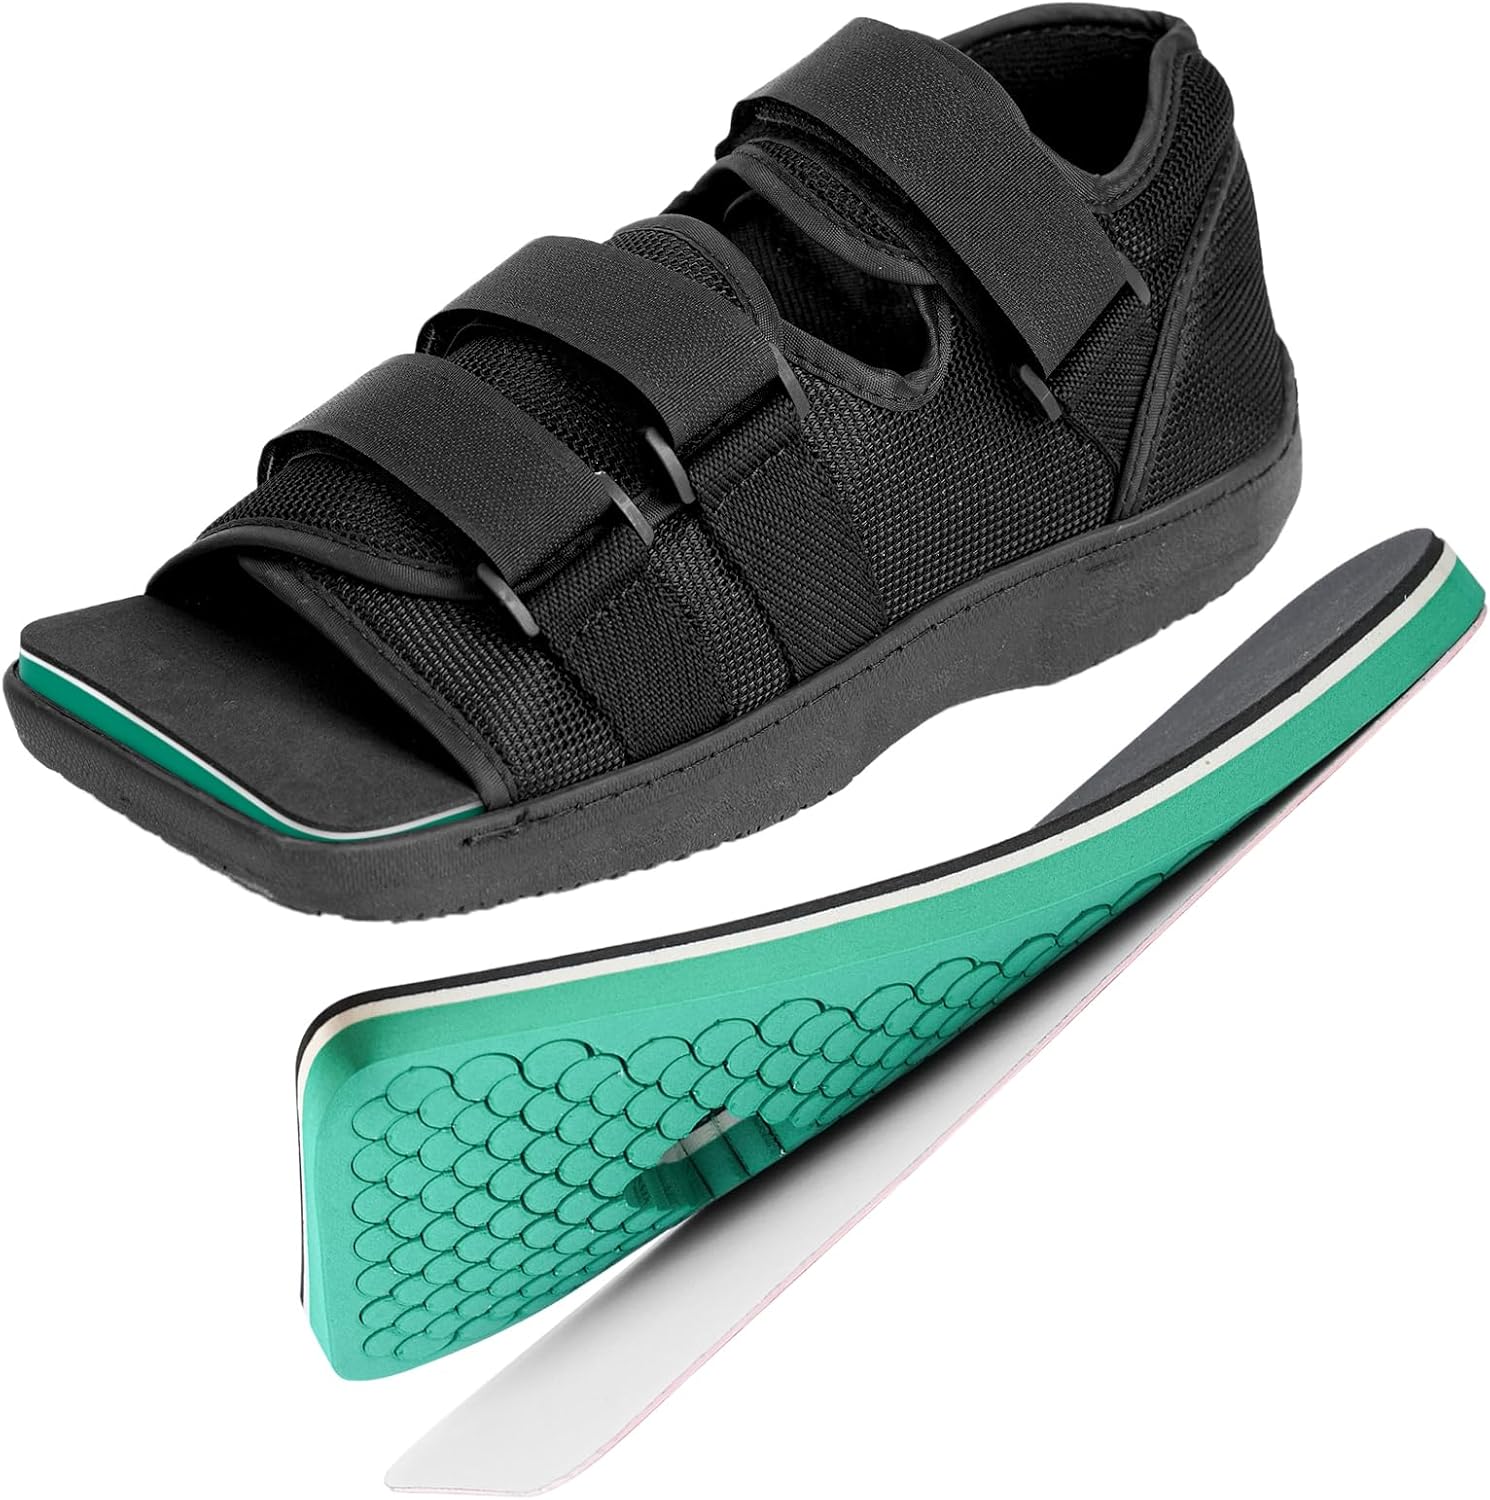
Post-Op Recovery Shoe (Diabetic-Friendly)
For post-surgical foot recovery, broken toes, foot fractures, mild forefoot wound healing, and protection of diabetic feet. Includes a decompression insole to help redistribute pressure away from sore spots and protect the toes during recovery.
Sizing Guide
Sized by shoe size. Match to the manufacturer's chart. The shoe should be roomy enough to accommodate wound dressings or padding without pressure. Most are sold as one shoe and fit either left or right foot.
Tips & Tricks
Fasten all the straps for a secure fit so the shoe does not slide while you walk. Place the decompression insole inside the shoe before wearing — some models let you cut or modify the insole to relieve pressure under a specific spot. Wear a matching-height EvenUp shoe lift on the other foot to keep your hips level and prevent back or hip pain.
Common Mistakes
Walking on uneven ground in the offloading shoe is a fall risk. Skipping the level-up on the other foot causes uneven hips and back pain. For deeper or more severe diabetic wounds (Wagner grade 2+), a clinical-grade wound care shoe like the Darco DUO Pro is a better fit — confirm with your provider that this style of shoe is appropriate for your specific injury or wound.
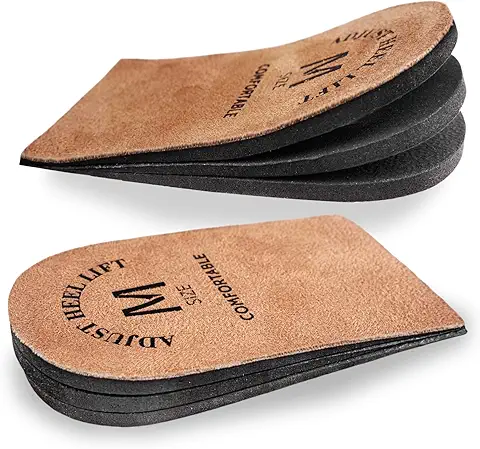

Heel Lift (Adjust-A-Lift)
For leg length discrepancy, Achilles tendonitis, and plantar fasciitis relief.
Sizing Guide
These are the same sizes as the original Adjust-A-Lift brand. Choose your size based on shoe size from the product images. Each layer adds 1/8 inch of height, and layers peel away to reduce height as needed.
Tips & Tricks
Start with the lowest height setting and increase gradually. Place the lift inside your shoe under the insole for the most secure fit. Peel away a layer to decrease height if needed. A good pair of scissors can trim the width to fit your shoe if it is too wide.
Common Mistakes
Starting too high can cause knee or hip pain. Only increase height as directed by your clinician. The lifts tend to pack out over time, so the height will decrease slightly with long-term use. You may need to add a layer back if you notice the lift feeling thinner.
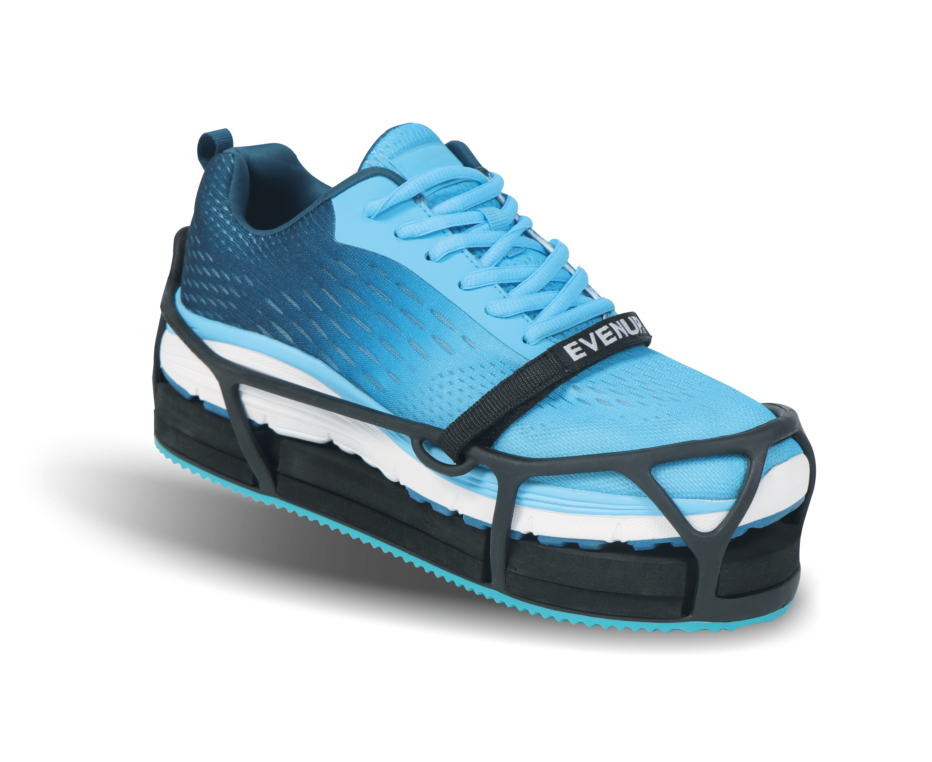
Shoe Lift for Cam Walkers (EvenUp)
For leveling your hips when wearing a cam boot on one foot. Worn on the opposite shoe.
Sizing Guide
Measure your shoe length: place it on a flat surface and measure heel to toe. Check the product images for the size chart. For wide feet, order one size up. A slight overhang at the toe or heel is fine. The EvenUp fits best with a regular profile athletic shoe without a wide, thick heel. It works on left or right foot and comes in sizes including kids.
Tips & Tricks
The EvenUp has 3 height adjustments: 1/2", 3/4", or 1-1/4". A typical cam boot adds about 1-1/2" to 2" of height, but remember you also need to account for the height of the shoe you are wearing on the booted foot inside the cam boot. Strap the EvenUp securely onto your regular shoe on the non-booted foot. Walk slowly at first to adjust. Look for the black model with the teal bottom, which is the authentic EVENup.
Common Mistakes
Not using a shoe lift with a cam boot is a common oversight. The height difference causes limping and can lead to back or hip pain. The EvenUp will not fully match the cam boot height since cam boots are typically taller than the maximum 1-1/4" setting, but it significantly reduces the difference and improves your gait.
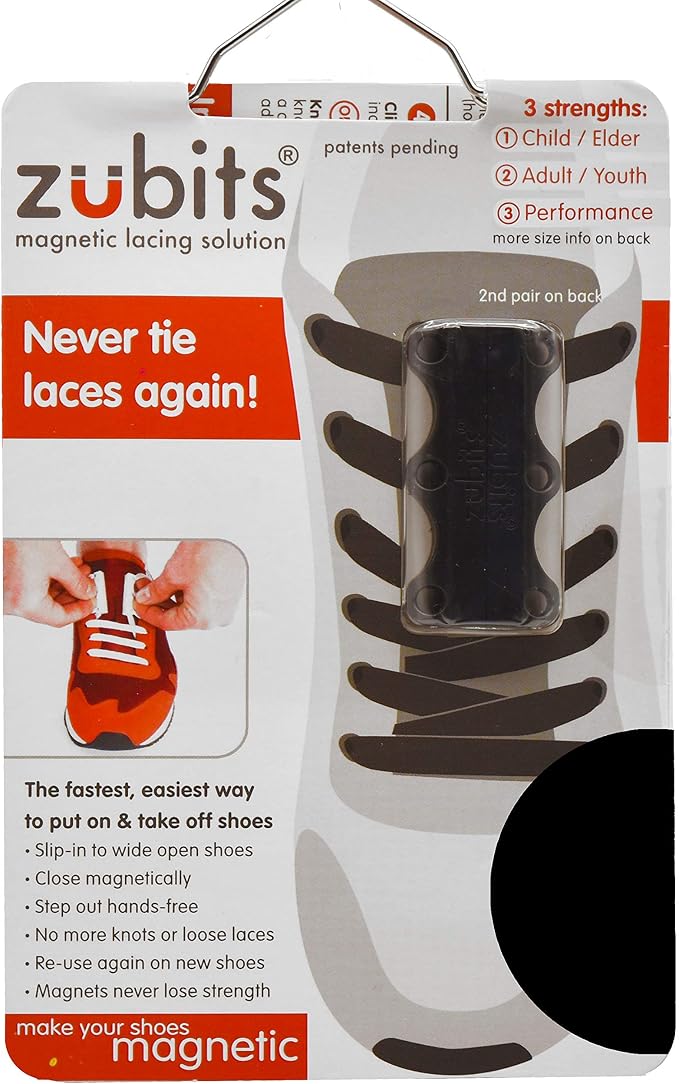
Magnetic Shoe Closures (Zubits)
Zubits are magnetic shoe closures that replace the top of your laces with two strong magnets that snap together. Slip your foot into the already-open shoe and the magnets close with a click; to take the shoe off, pull the magnets apart. No tying and no bending to lace up. Great for one-handed users, arthritis, limited dexterity, kids, and anyone who wants hands-free on and off, and they come in several colors.
Sizing Guide
Zubits come in three strengths: size 1 (child or elder, lightest pull), size 2 (adult or youth, everyday use), and size 3 (performance, strongest hold for sports). Pick by shoe size and how firmly you want them to hold. You lace them onto each shoe once, then leave them; one pair does one pair of shoes. Several colors are available to match or contrast your shoes.
Tips & Tricks
Install once: thread your existing laces through the Zubits and set the tension so the shoe is snug when the magnets meet, then just step in and out from then on. Line the magnets up and they self-close with a snap. For running or sports, size up to the performance strength for a firmer hold. As with any strong magnet, keep them away from credit cards and medical devices such as pacemakers.
Common Mistakes
Setting the lace tension too loose lets the shoe gap open; snug it so the magnets meet with the shoe already comfortable. Choosing a strength too light for high activity can let them pop open, so size up for sports. Leaving the original laces too long before threading makes a bulky knot; trim after you set the fit.